Bring in the right source
Choose the original or highest-quality available image, then note its intended destination. Decide whether the task is correction, composition, annotation, or preparation for a specific channel.
Desktop image work
An image editor for pc can make everyday visual work easier to organize, refine, and deliver. Use a clear sequence for importing an asset, making focused edits, and checking the result before you share it.
This page is an image-editing guide, not an editor. The link opens Supavisual’s home page without carrying a prompt or image. Sign in there to upload; an eligible paid subscription is required for AI tools. Any paired images here are illustrations of concepts, not verified processing results from this site or Supavisual.
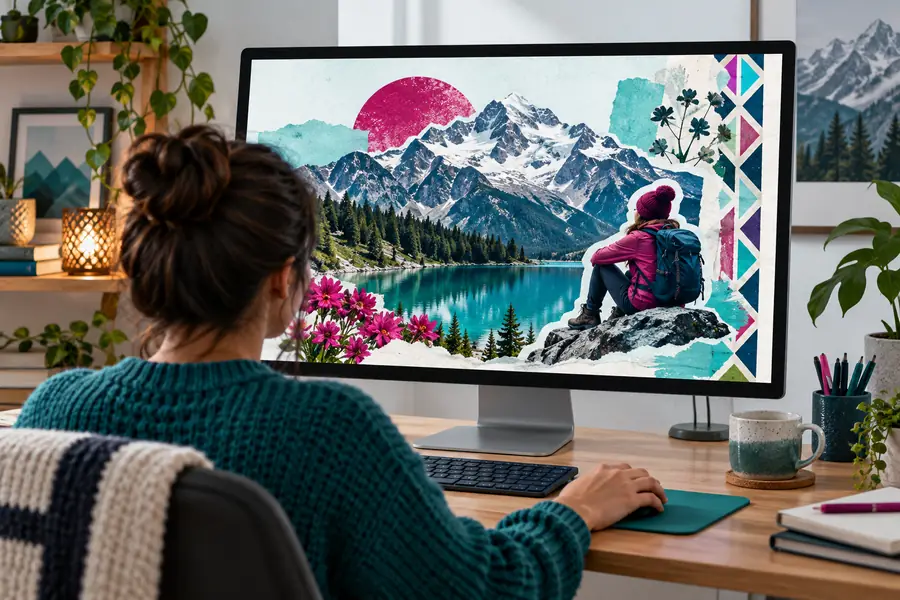
Compare a browser-based workflow with a Photoshop-centered process when layered editing is already part of your routine.
Review practical browser editing considerations when you want to work without installing a separate desktop application.
Use a direct comparison to decide which environment fits the complexity, control, and repeatability your project needs.
A PC gives you a familiar working surface, but the device alone does not solve inconsistent source files, unclear export decisions, or edits that drift away from the original brief.
Heavy blur, severe compression, clipped highlights, and missing detail cannot always be reconstructed convincingly. Editing can improve presentation, but it cannot reliably recreate information that was never captured.
WorkaroundStart with the largest, cleanest source available and keep an untouched original for comparison.
A focused editor is useful for individual images, yet complex campaigns may also require asset naming, review stages, brand libraries, and final delivery checks.
WorkaroundUse a simple folder and naming convention, then complete formal approval and publishing in the tools your team already uses.
A visual that looks correct on one monitor may shift across displays, print processes, or social platforms. Export behavior depends on the destination and the source image.
WorkaroundCheck the destination specification before editing and inspect a final export at its intended size.
Automatic suggestions and quick adjustments can speed up routine work, but they may alter faces, small lettering, edges, or brand colors in ways that are hard to notice at first glance.
WorkaroundReview the image at full size and compare the finished version with the original before delivery.
The most reliable PC workflow is deliberately simple: establish the goal first, make only the changes that support it, and inspect the exported file as a separate step.
Choose the original or highest-quality available image, then note its intended destination. Decide whether the task is correction, composition, annotation, or preparation for a specific channel.
Crop for the required framing, correct distracting visual issues, and add text or supporting elements only when they improve the message. Keep adjustments reversible where possible.
Review alignment, edges, legibility, and visual balance at the final viewing size. Export a clearly named copy, preserve the source, and confirm that the result matches the brief.
A useful result is not simply brighter or sharper; it is an image that communicates its purpose more clearly while keeping the subject, hierarchy, and intended tone intact.
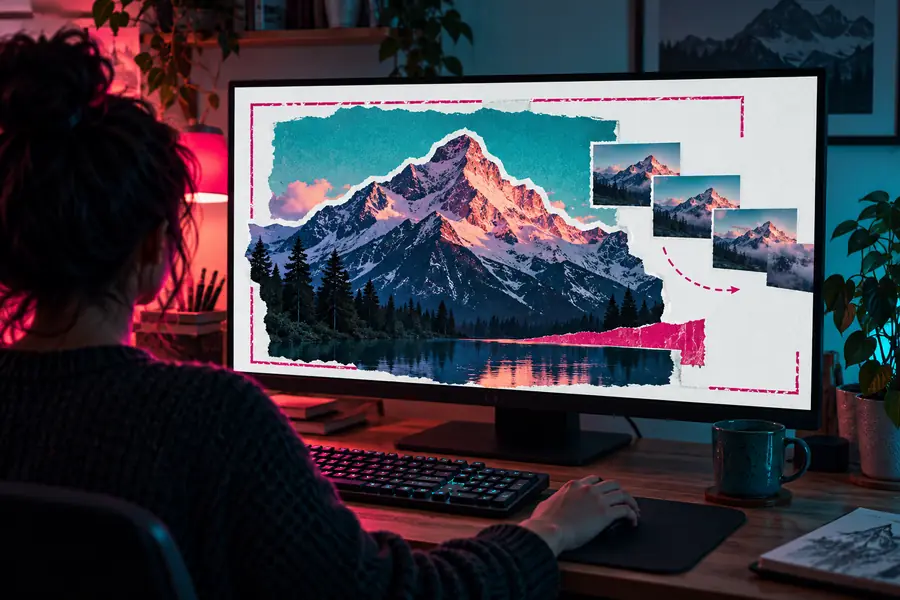
The strongest before-and-after changes are purposeful: cleaner framing, clearer hierarchy, and a finish suited to the destination.
The same editing sequence can support different goals, from a quick correction to a more deliberate visual handoff. Choose the level of control that matches the asset and the audience.
A campaign image needs a tighter crop, readable overlay text, and a consistent visual treatment before it moves into a publishing queue.
A focused edit produces a review-ready asset while keeping the original available for later revisions.
image text editor onlineA product photo needs cleaner framing and a more polished presentation for a listing, newsletter, or small promotional graphic.
A repeatable correction process helps the product remain the visual focus instead of competing with distracting edges or uneven spacing.
image editor examples freeA selected image needs restrained adjustments before delivery, with attention to composition, subject separation, and the character of the original capture.
The final image receives practical refinement without turning every correction into an elaborate retouching project.
best ai photo editor for photographersA screenshot, diagram, or presentation image needs cropping, annotation, or a clearer visual sequence for other people to understand.
The image becomes easier to scan and discuss because the edit supports the explanation rather than adding decoration.
how to use image editor onlineBefore sending an edited image, confirm that the source is yours to use or that the required permission has been secured. Remove sensitive information from screenshots, avoid publishing personal details unintentionally, and check whether logos, faces, artwork, or product imagery have usage restrictions. Keep the original file and a clearly named final export so your team can identify what changed. When an image is used for advertising, regulated communication, or a formal record, follow the review and disclosure rules that apply to that context rather than treating visual polish as approval.
Look for a workflow that matches the job: dependable importing, clear crop and adjustment controls, useful text or annotation options, and an export step you can inspect. The best choice is the one that lets you repeat your common tasks without adding unnecessary complexity.
Some image editing workflows run in a browser, so a PC can be used without adding another installed application. Check the specific tool's current access, file handling, and export behavior before relying on it for an important deliverable.
It can be suitable for focused corrections, resizing, annotations, and preparing assets for review or delivery. More demanding work may still call for specialized software, especially when you need advanced color management, extensive layer control, batch processing, or a formal production pipeline.
Begin with the highest-quality source available and avoid repeated re-saving of compressed formats. Export once for the intended destination, inspect the result at its final size, and retain the original separately so you can make future changes without building on a degraded copy.